

Bring the carnival home with two easy ways to make ultra-creamy Cotton Candy Ice Cream custom-scaled for your Ninja CREAMi Deluxe 24 oz container!
Bring the magic of the summer carnival straight to your kitchen! If you own a Ninja CREAMi Deluxe, you already know it is a total game-changer for making custom frozen treats. Today, we are channeling pure childhood nostalgia with a vibrant, ultra-creamy Cotton Candy Ice Cream.
Whether you prefer a lighter, syrup-infused scoop or a rich, thick scoop-shop style texture, I have you covered. Below, you will find two distinct ways to make this carnival favorite in your Deluxe 24-ounce container!
Why the Ninja CREAMi Deluxe Excels at Frozen Treats
Unlike traditional ice cream makers that churn while freezing, the Ninja CREAMi Deluxe shaves a completely frozen solid block into a micro-creamy texture. Because the Deluxe holds 24 ounces (instead of the 16 ounces in the original model), standard recipes will leave your container half-empty. These recipes are custom-scaled to fill your Deluxe 24 ounces perfectly – right up to the max fill line!

Recipe 1: The Nostalgic Classic (Light & Sweet)
This recipe uses a traditional dairy base with a touch of cream cheese. The cream cheese acts as a natural stabilizer, preventing the icy or powdery texture that can sometimes happen with homemade CREAMi pints.
- Prep time: 5 minutes
- Freeze time: 24 hours
- Ninja CREAMi Setting: ICE CREAM
Ingredients
- 1 ¼ cups Whole milk
- 1 cup Heavy cream
- ⅓ cup Granulated sugar
- 1 tablespoon Cream cheese (softened)
- 1 ½ teaspoons cotton candy flavor
- 1 teaspoon Vanilla extract
- 2 drops of Pink food coloring (optional)
- or
- 2 drops of Blue food coloring (optional)
Step-by-Step Instructions
- Whisk the Base: In a large measuring cup, whisk the softened cream cheese, sugar, cotton candy flavor, and vanilla extract until completely smooth and lump-free.
- Add the Dairy: Slowly pour in the whole milk and heavy cream. Add optional pink or blue food coloring. Whisk until the color is uniform.
- Freeze Flat: Pour the liquid mixture into your Ninja CREAMi Deluxe container. Secure the storage lid and place it on a flat surface in your freezer for a full 24 hours.
- Spin: Remove the container from the freezer. Place it into the outer bowl assembly, lock the lid, and select the ICE CREAM button.
- The Pro-Tip Re-Spin: If the ice cream looks a bit powdery or crumbly after the first spin, don’t panic! Add 1 tablespoon of milk to the center of the container and run a RE-SPIN cycle for a perfectly smooth finish.
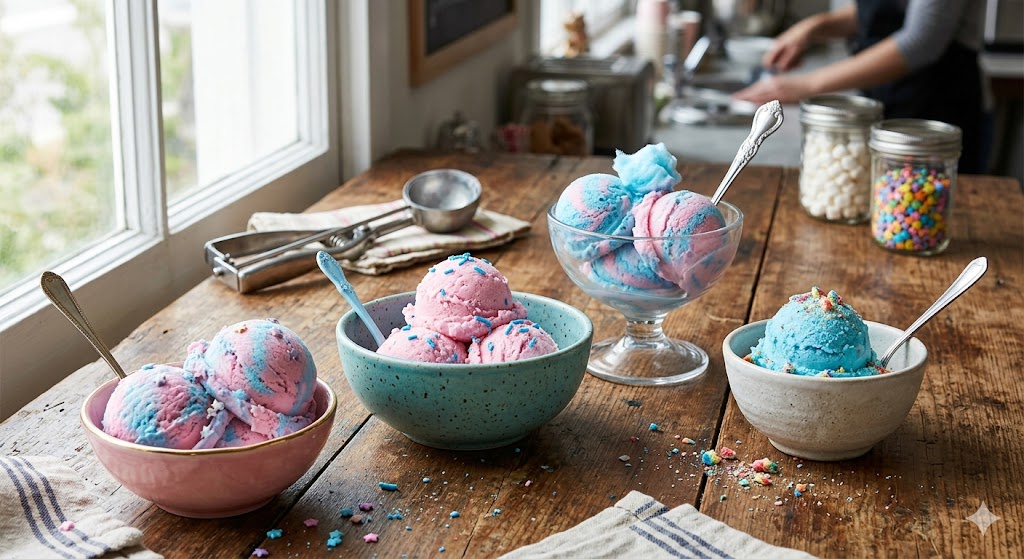
Recipe 2: The Premium Carnival Scoop (Ultra-Thick & Rich)
Want that heavy, decadent texture you get from premium ice cream parlors? This version uses instant vanilla pudding mix. The starches in the pudding act as a powerful stabilizer, giving you an incredibly thick scoop that holds its shape beautifully.
- Prep time: 5 minutes
- Freeze time: 24 hours
- Ninja CREAMi Setting: ICE CREAM or LITE ICE CREAM
Ingredients
- 1 ½ cups Whole milk
- ¾ cup Heavy cream
- 2 tablespoons Instant vanilla pudding mix
- ¼ cup Granulated sugar
- 1 ½ teaspoons Cotton candy flavor
- 2 drops of pink or blue food coloring
- ⅓ cup Mini marshmallows or dehydrated marshmallows
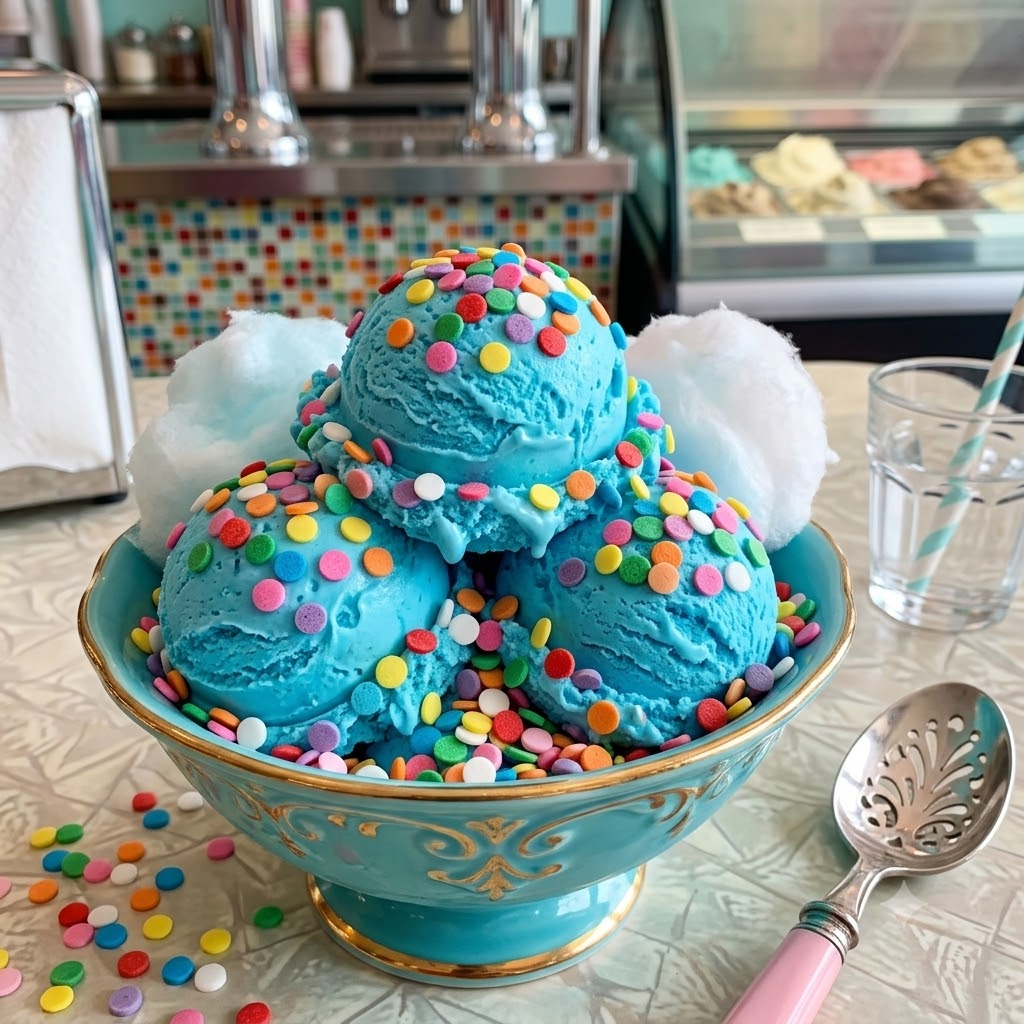
Optional Colorful Candies to Mix-in or Add on Top
- 2 tablespoons pink cotton candy, torn into small pieces
- 2 tablespoons blue cotton candy, torn into small pieces
- Cotton candy flavored sanding sugar
- Rainbow sprinkles
- Cotton candy crunch

Instructions
Step 1: Blend the Base
Combine the whole milk, heavy cream, pudding mix, sugar, cotton candy flavor, and food coloring in a blender. Blend for about 30 seconds until smooth.
Step 2: Freeze
Pour the mixture into the Deluxe container and freeze flat for 24 hours.
Step 3: Process
Place the frozen container into the Ninja CREAMi Deluxe and run the ICE CREAM or LITE ICE CREAM program.
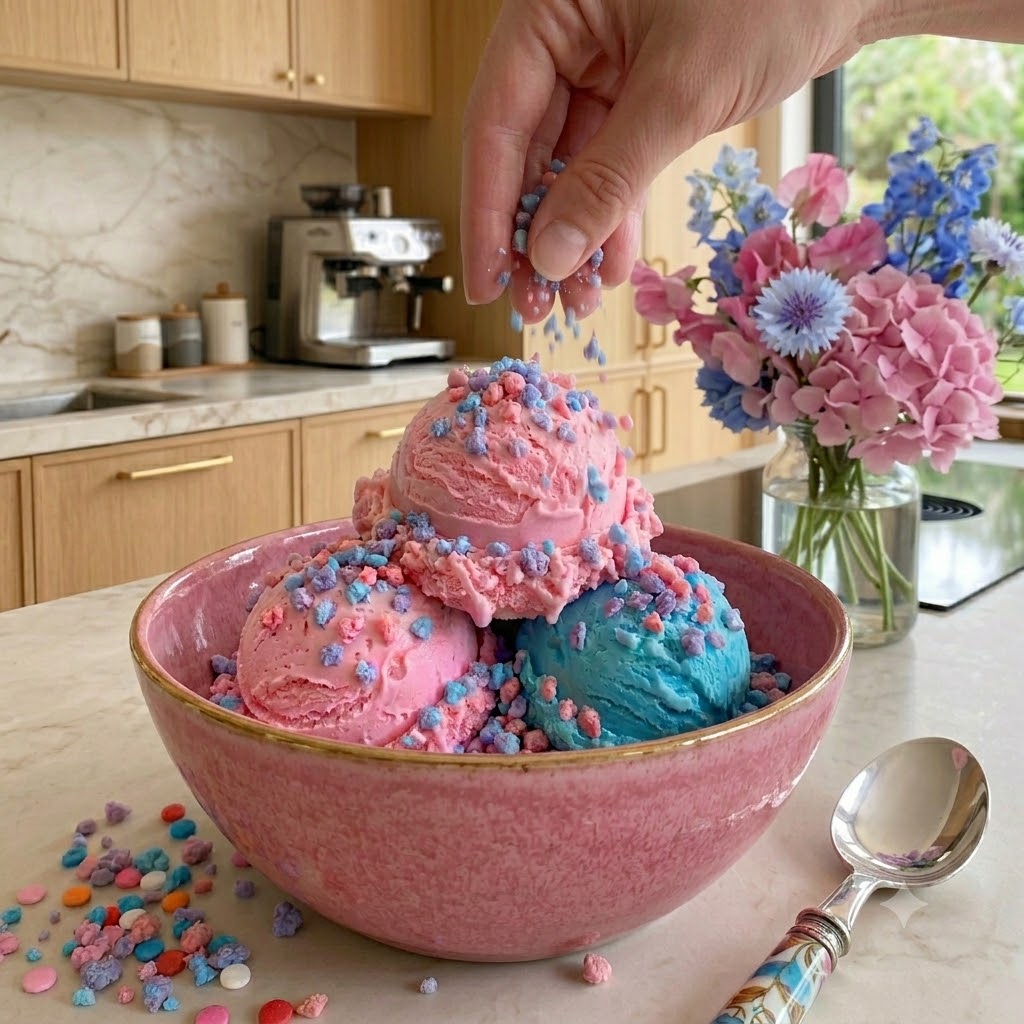
Step 4: Add Mix-Ins
Create two small pockets in the processed ice cream using the handle of a spoon.
Place the pink cotton candy pieces in one pocket and the blue cotton candy pieces in the other.
Run the MIX-IN cycle.
The mix-ins may create colorful ribbons, pockets, and swirls throughout the ice cream. Because every container processes a little differently, the final appearance will vary, making each batch unique.
Note that the cotton candy will not be fluffy once it’s mixed in with the ice cream. Adding it on top of the ice cream will keep the fluffy texture much better.
Top Tips for Ninja CREAMi Success
Freeze Flat
Always freeze your container on a level surface. An evenly frozen base helps the machine process the ice cream more consistently and can improve texture.
Don’t Rush the Freeze
For best results, allow the container to freeze for a full 24 hours before processing.
Use Re-Spin When Needed
A crumbly texture after the first cycle is completely normal. A small splash of milk, followed by a RE-SPIN cycle, usually produces a much creamier result.
Add Cotton Candy & Other Mix-in’s Just Before Serving
Real cotton candy dissolves quickly when exposed to moisture. Adding it immediately before serving helps preserve both its color and texture while still adding fun bursts of flavor.
Final Thoughts
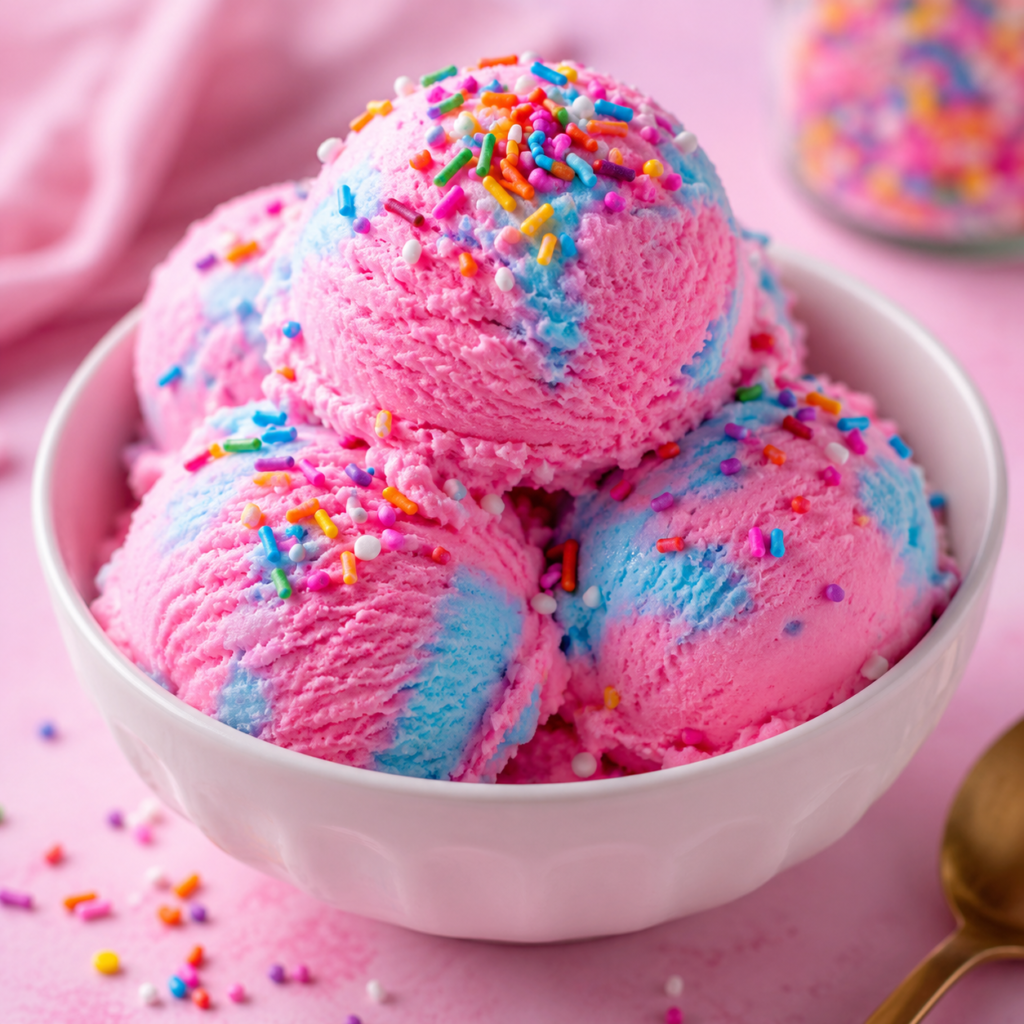
The Ninja CREAMi Deluxe makes it easy to turn simple ingredients into creative frozen desserts at home. Whether you choose the lighter classic version or the richer premium recipe, this Cotton Candy Ice Cream is a fun way to bring a little carnival nostalgia to your kitchen.
Experiment with different colors, mix-ins, and toppings to create your own signature version. After all, half the fun of owning a Ninja CREAMi Deluxe is making frozen treats that are uniquely yours.
I have a more in-depth blog about the Ninja Creami Deluxe if you are interested…..https://thenestedcove.com/ninja-creami-deluxe-nc501-review-is-this-the-best-ice-cream-maker-for-families-in-2026/
Disclaimer: Ninja and CREAMi are trademarks of their respective owners. This article is not affiliated with or endorsed by Ninja.